A Budget-Friendly Laundry Room Renovation You'll Want to Copy
Making a House Feel Like Home
When we moved to Fort Bragg, we purchased a home in a quiet neighborhood not far from base. I immediately fell in love with the character of the brick exterior and many of the thoughtful upgrades the previous owner had completed. Even so, like many homes, it still had its fair share of builder-grade features.
Although our military lifestyle means we move every few years, I find immense value in making each house feel permanent. Is that a little delusional? Maybe. But for the time we live there, it is our home, and I want it to feel that way.
I genuinely enjoy home improvement projects. I don't measure a project's success solely by resale value. Instead, I measure it by the amount of joy, function, or convenience it adds to our everyday lives.
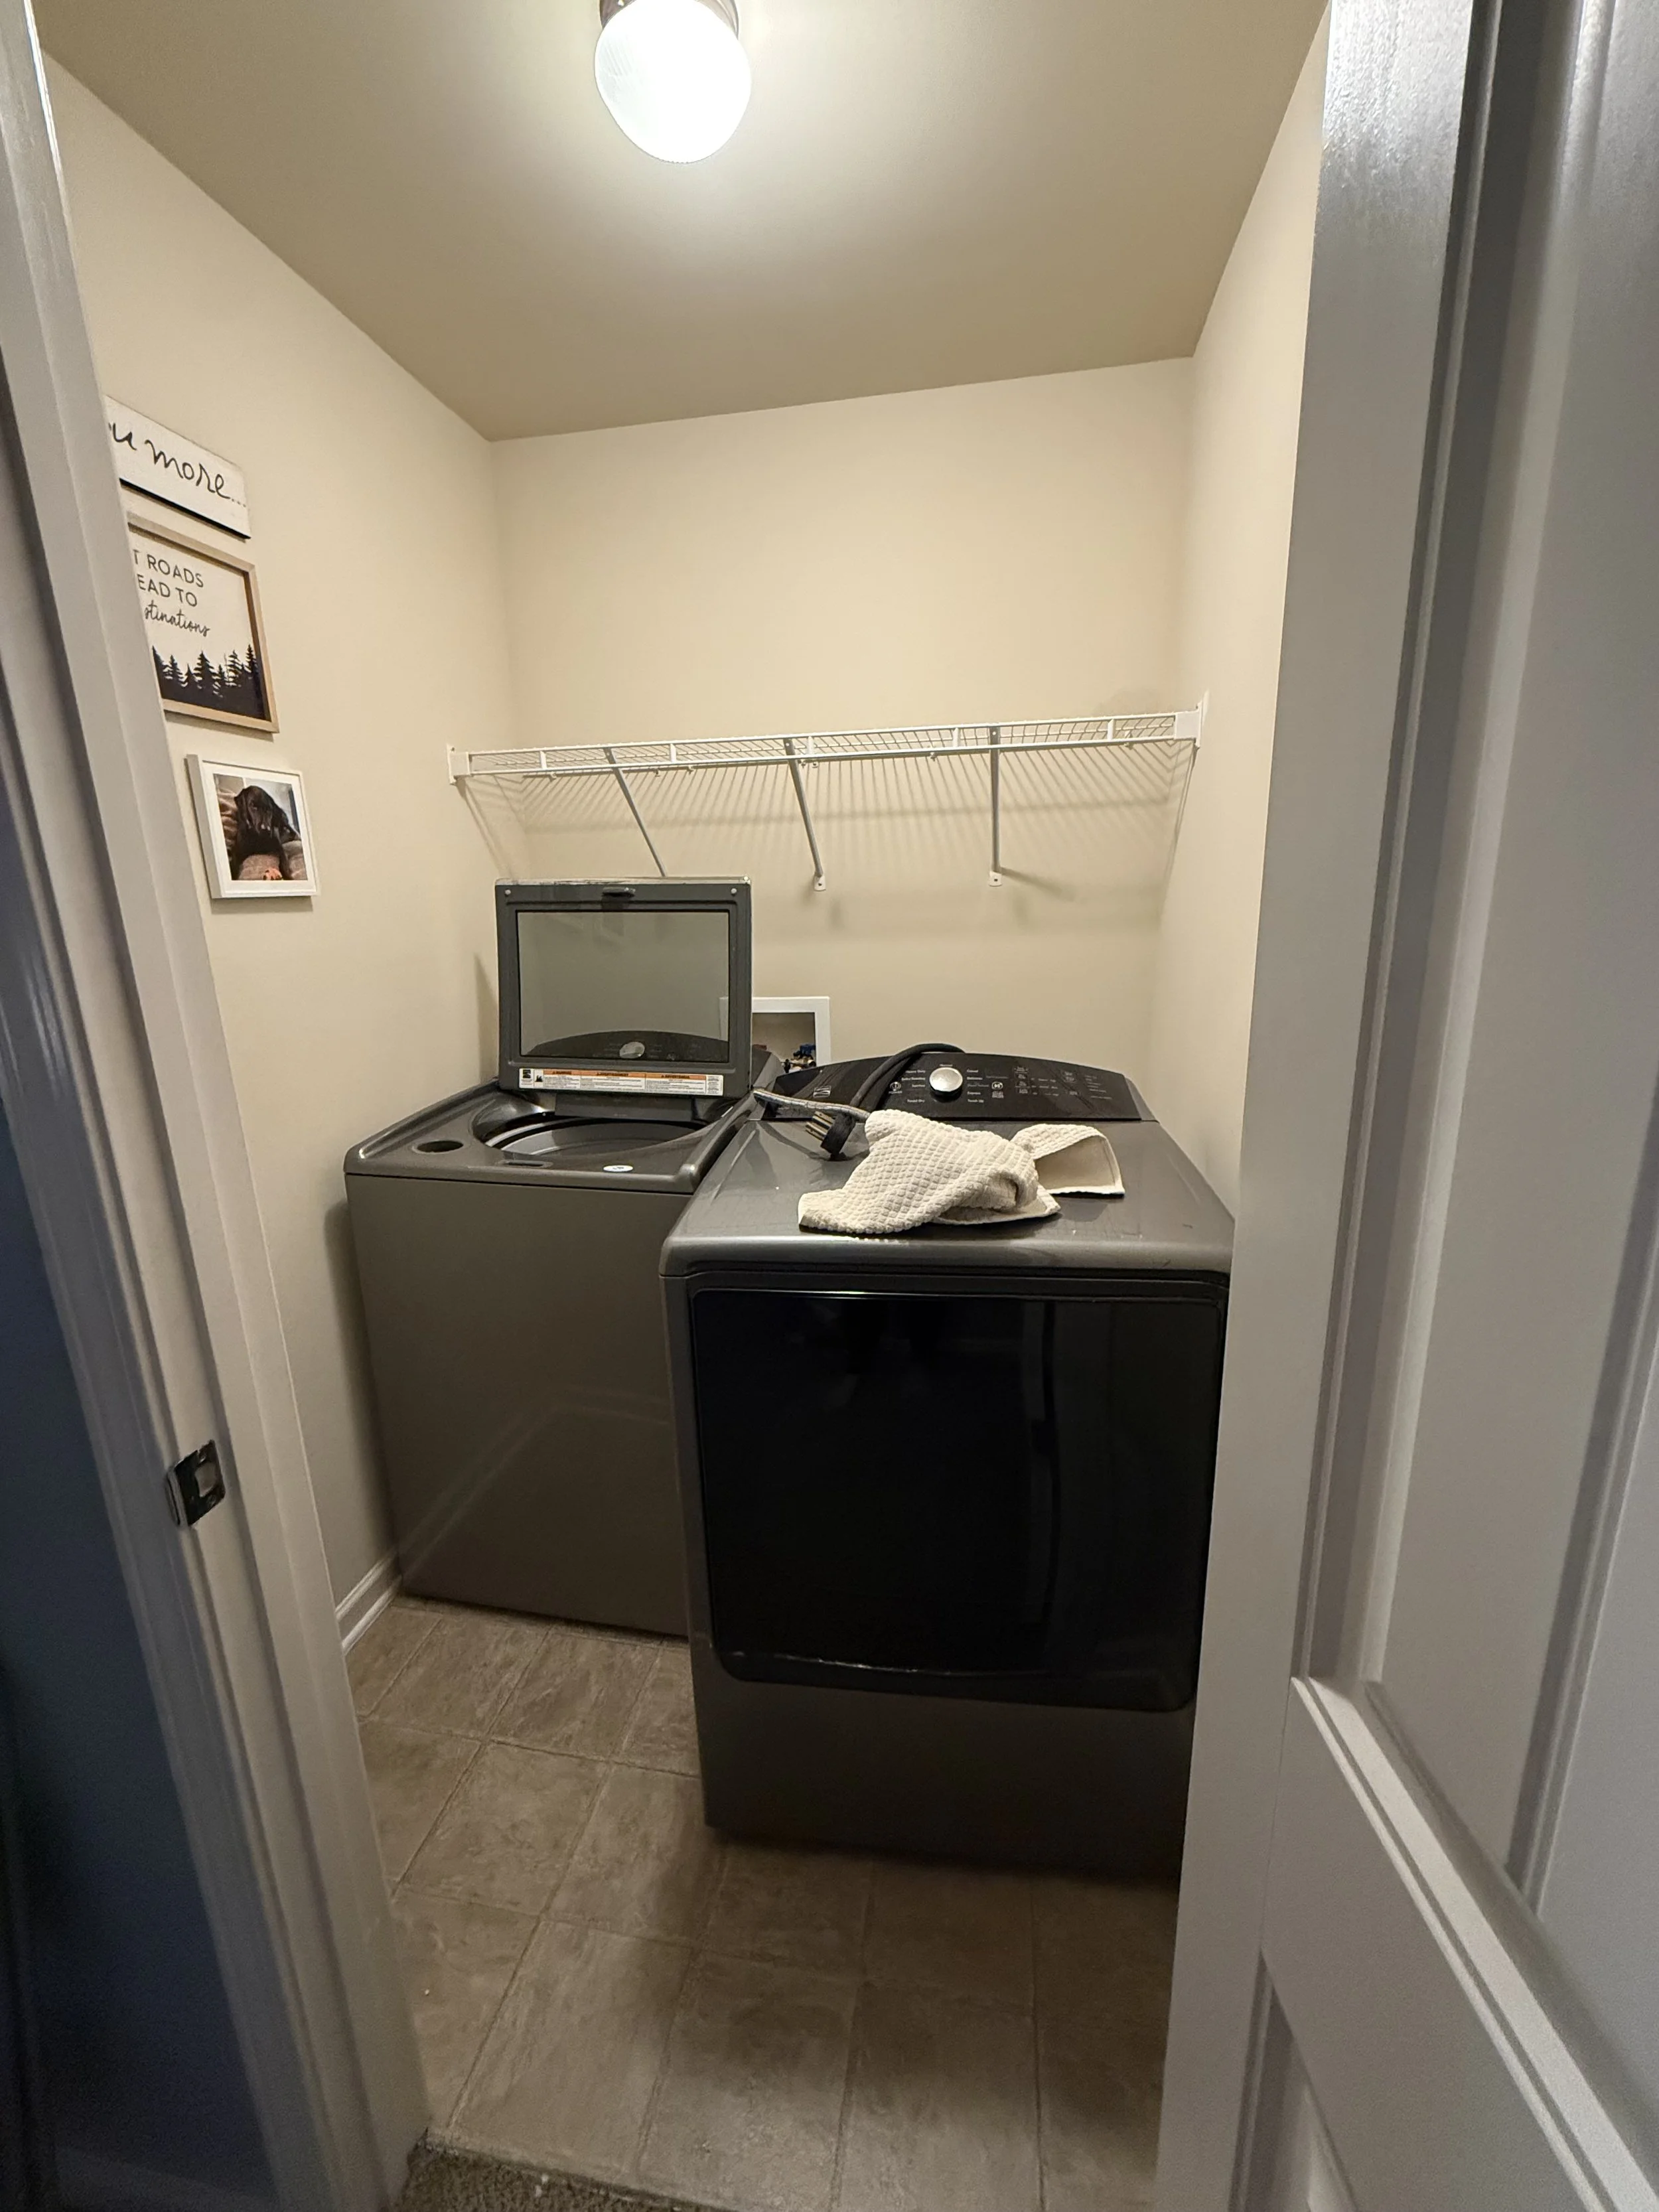
The start of our project.
Why the Laundry Room Needed Attention
Between toddler life, military uniforms, and all the gear that comes with both, our washing machine works overtime.
One feature I appreciate about our home is that the laundry room is located on the second floor. It's incredibly convenient to both our bedroom and our daughter's room. The downside? I see it constantly.
After a year of walking past the same uninspiring space, I finally decided enough was enough.
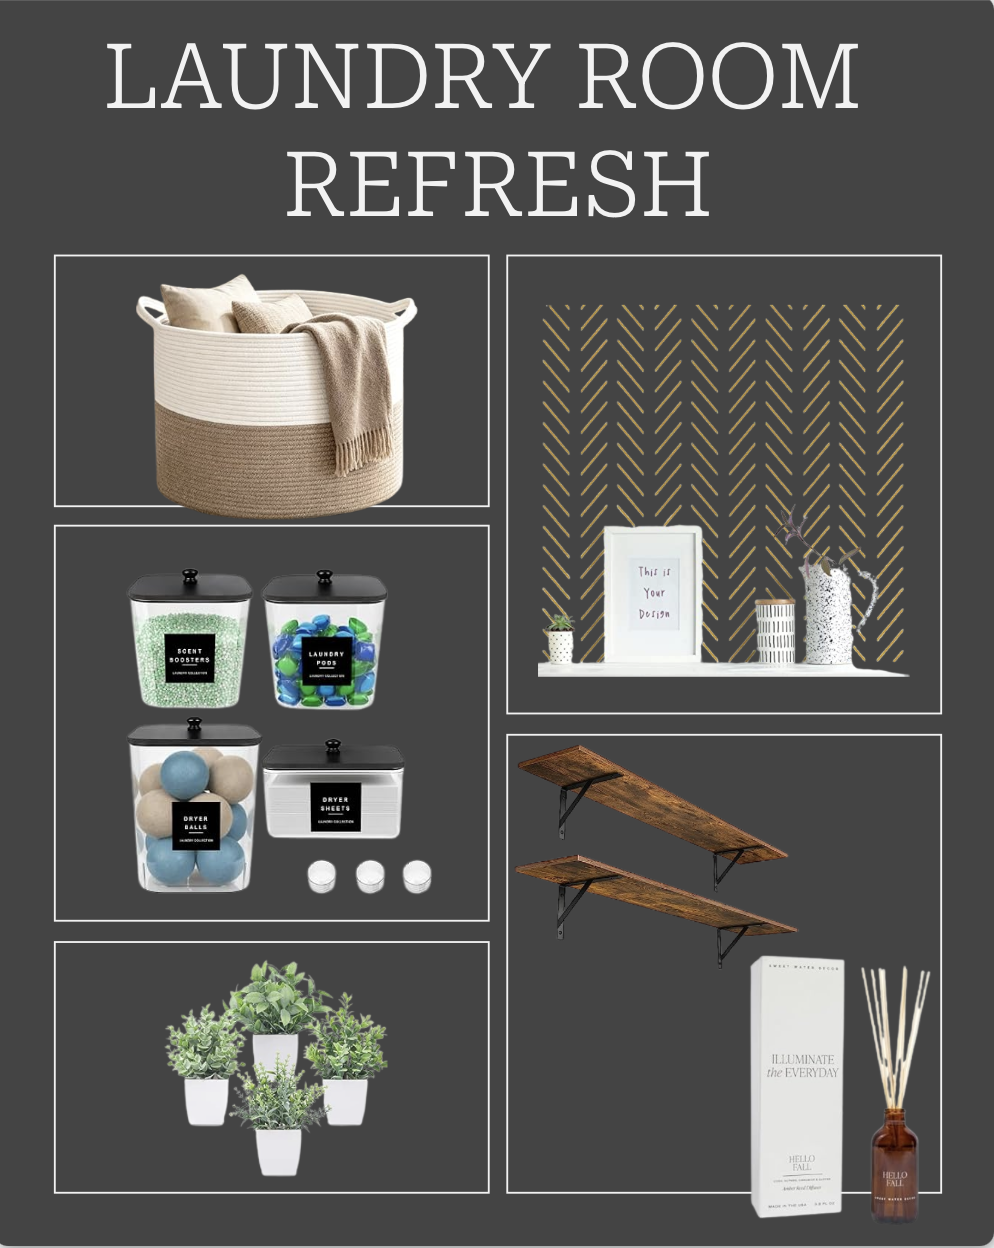
Shop these suggestions and more on Amazon.
*As an Amazon Affiliate I earn from qualifying purchases at no additional cost to the buyer.
The Renovation Plan
My vision was simple: create a space that felt more intentional without spending a fortune.
I ordered peel-and-stick wallpaper from Target and picked up new shelving and brackets from Lowe's. From there, it was off to the races.
One evening after putting our daughter to bed, my husband and I pulled the washer and dryer away from the wall, cleaned the entire space, and started installing the wallpaper. A few hours later, the wall was completely transformed and the shelves were mounted.
My Best Laundry Room Renovation Tip
A side note: I'm realizing laundry room renovations are becoming a bit of a thing for me. This was actually my fourth one.
I've tackled these projects both solo and with a partner, and I can confidently say the extra set of hands is incredibly helpful.
My biggest tip? Install your anchors and confirm shelf placement before hanging the wallpaper. If a shelf isn't level, you can easily patch the hole and reposition the anchor without damaging the wallpaper.
Once everything is perfectly placed, remove the shelves, install the wallpaper, and then simply poke through the wallpaper where the anchors are located. Trust me—it will save you a significant headache.
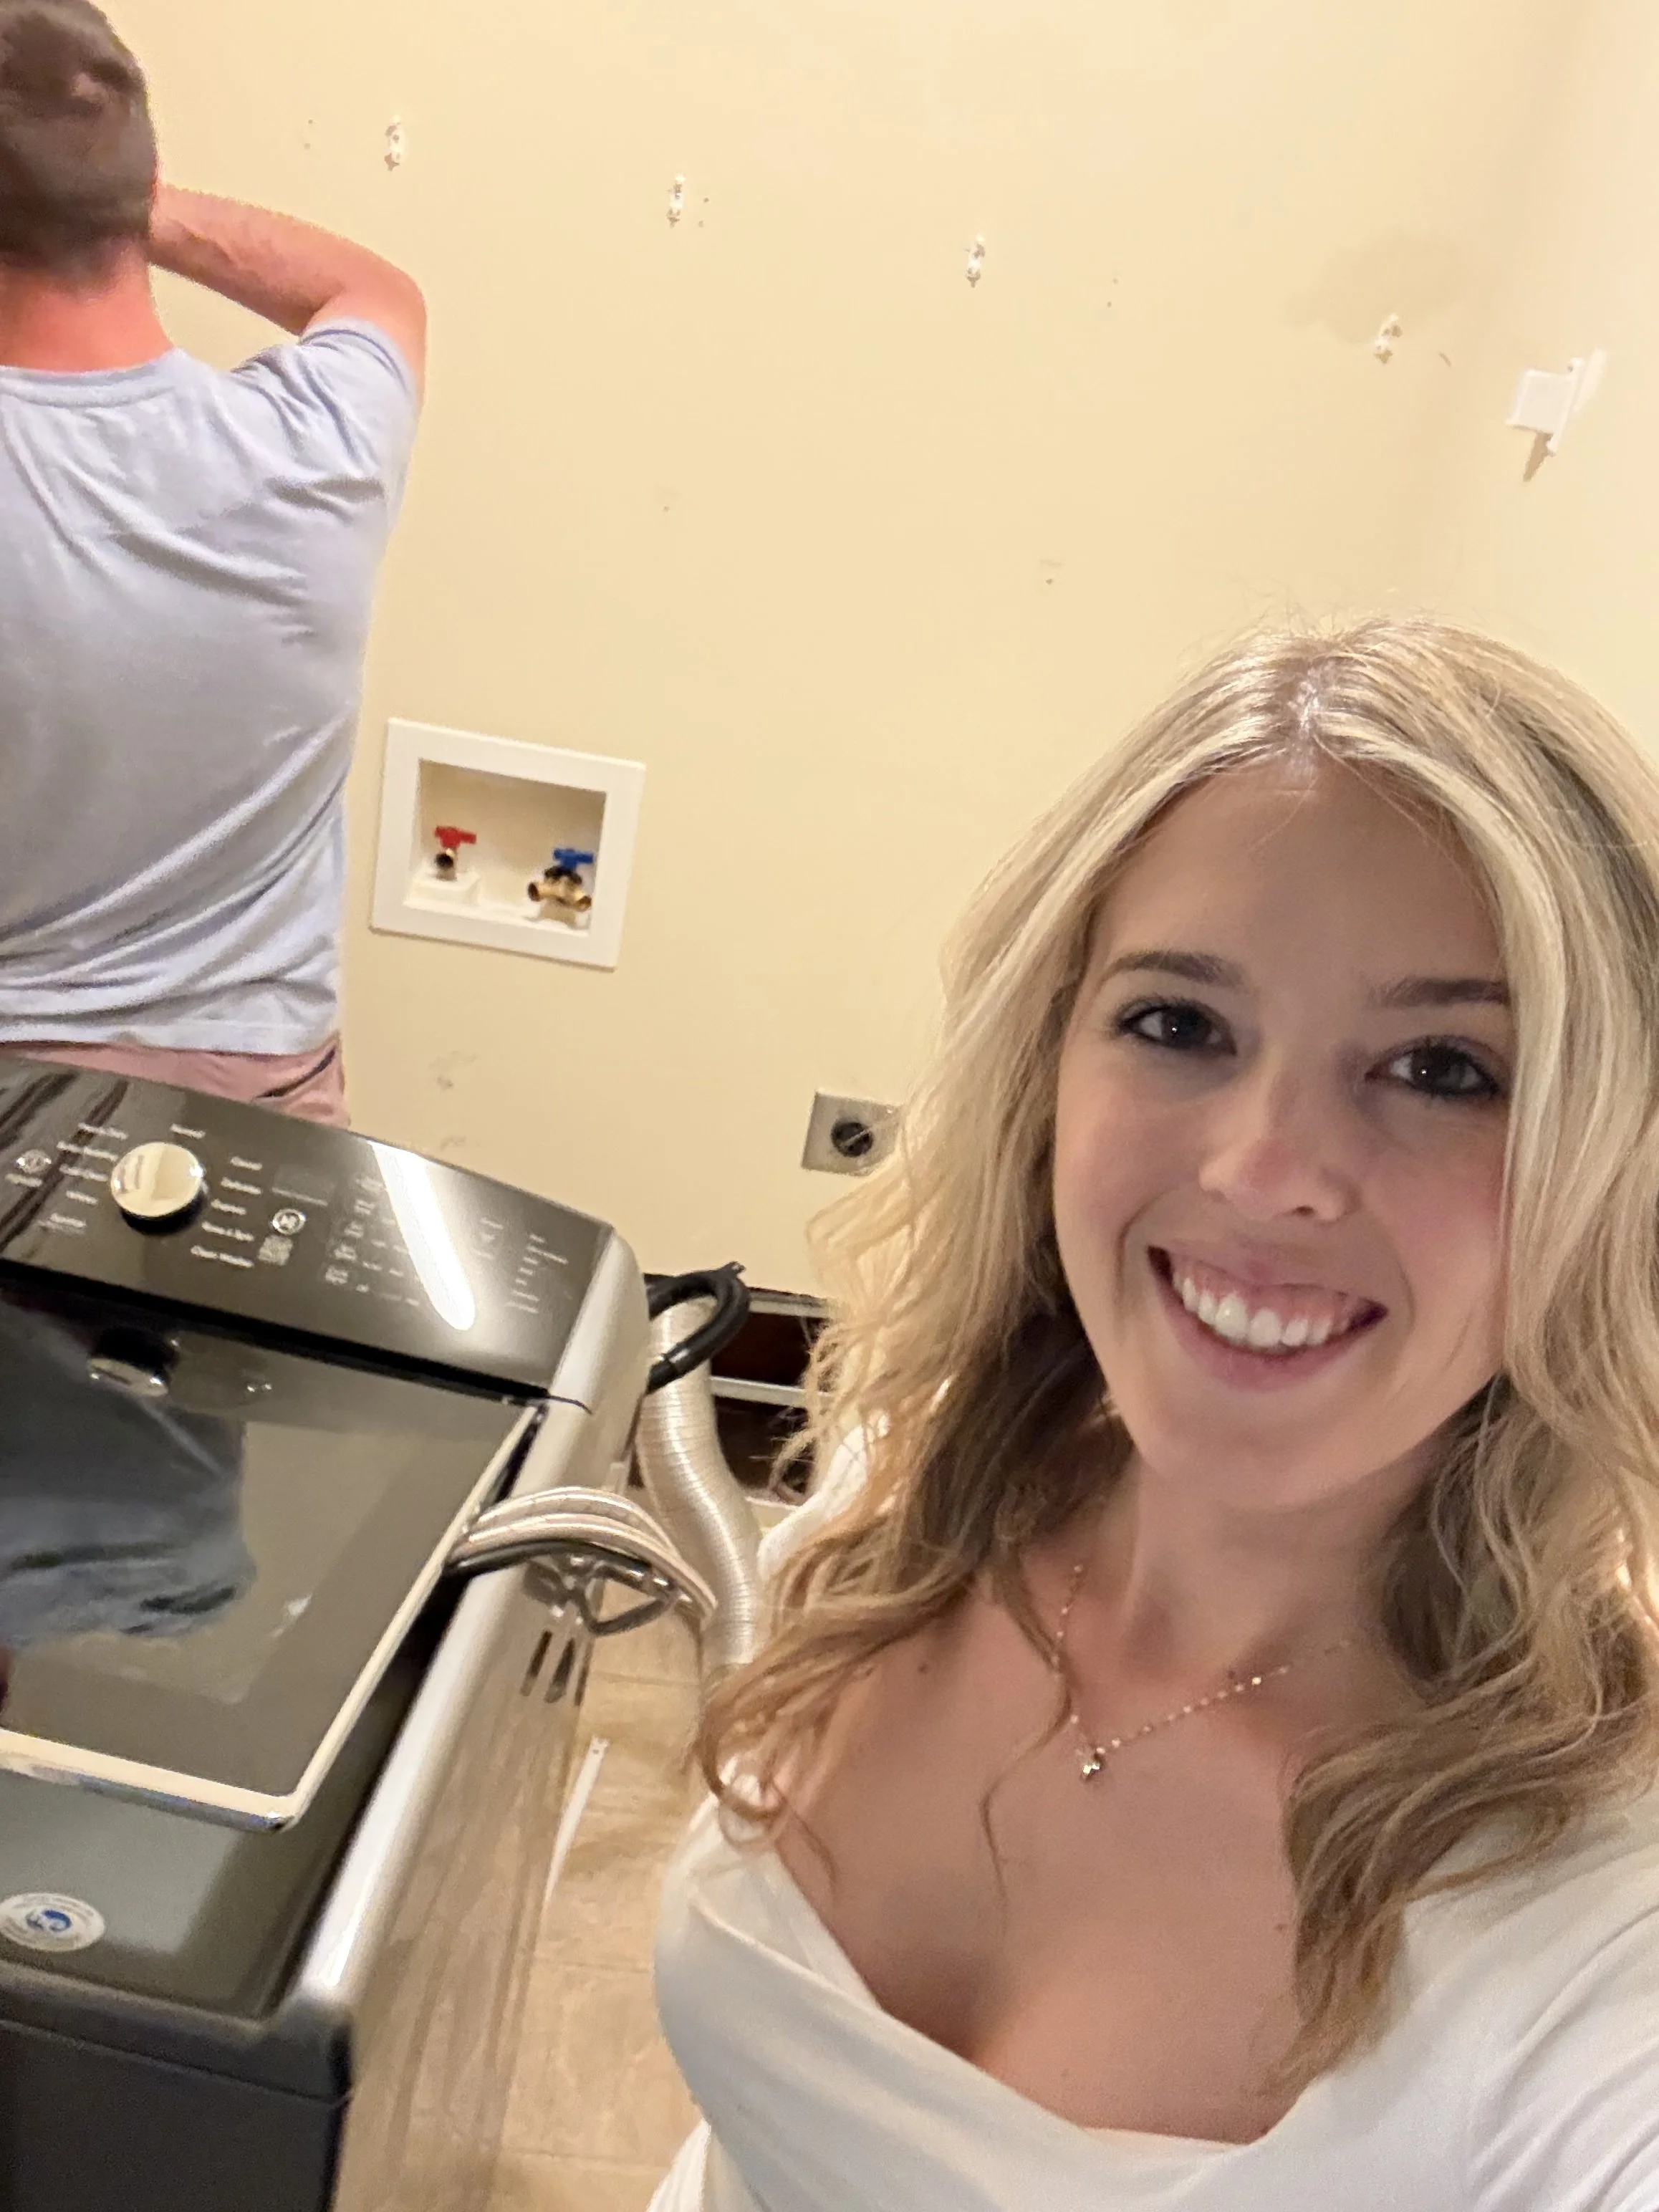
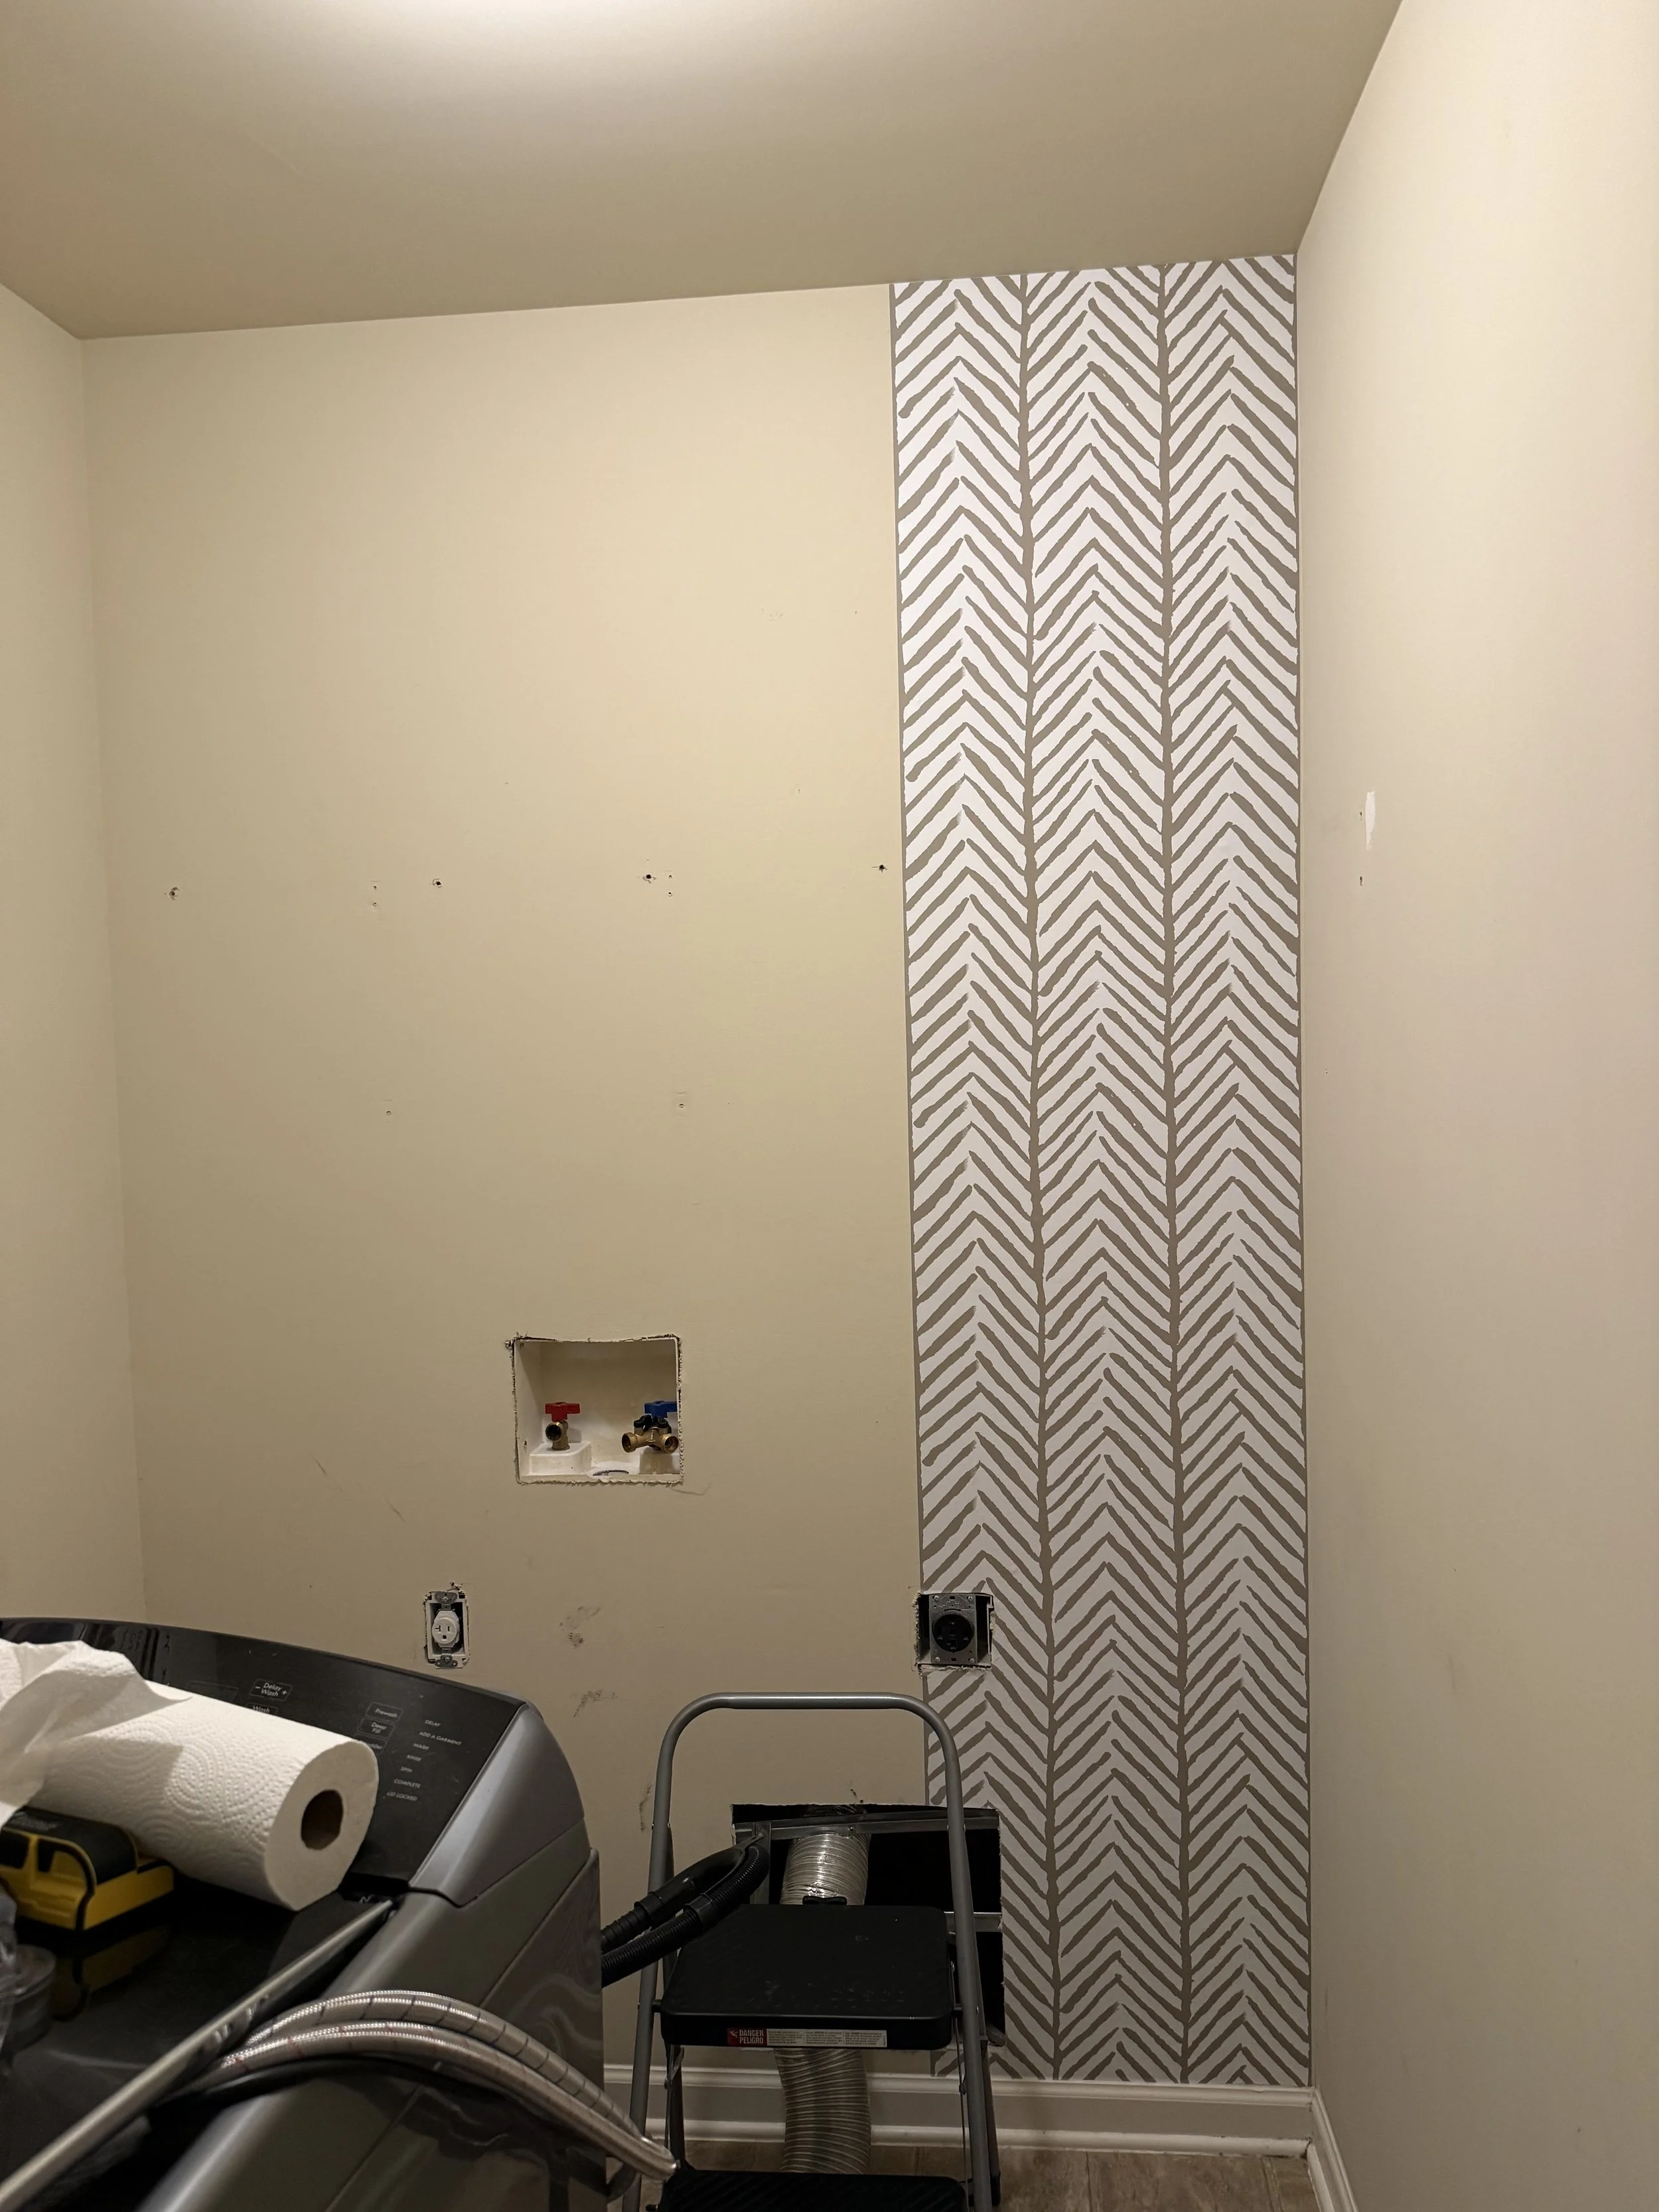
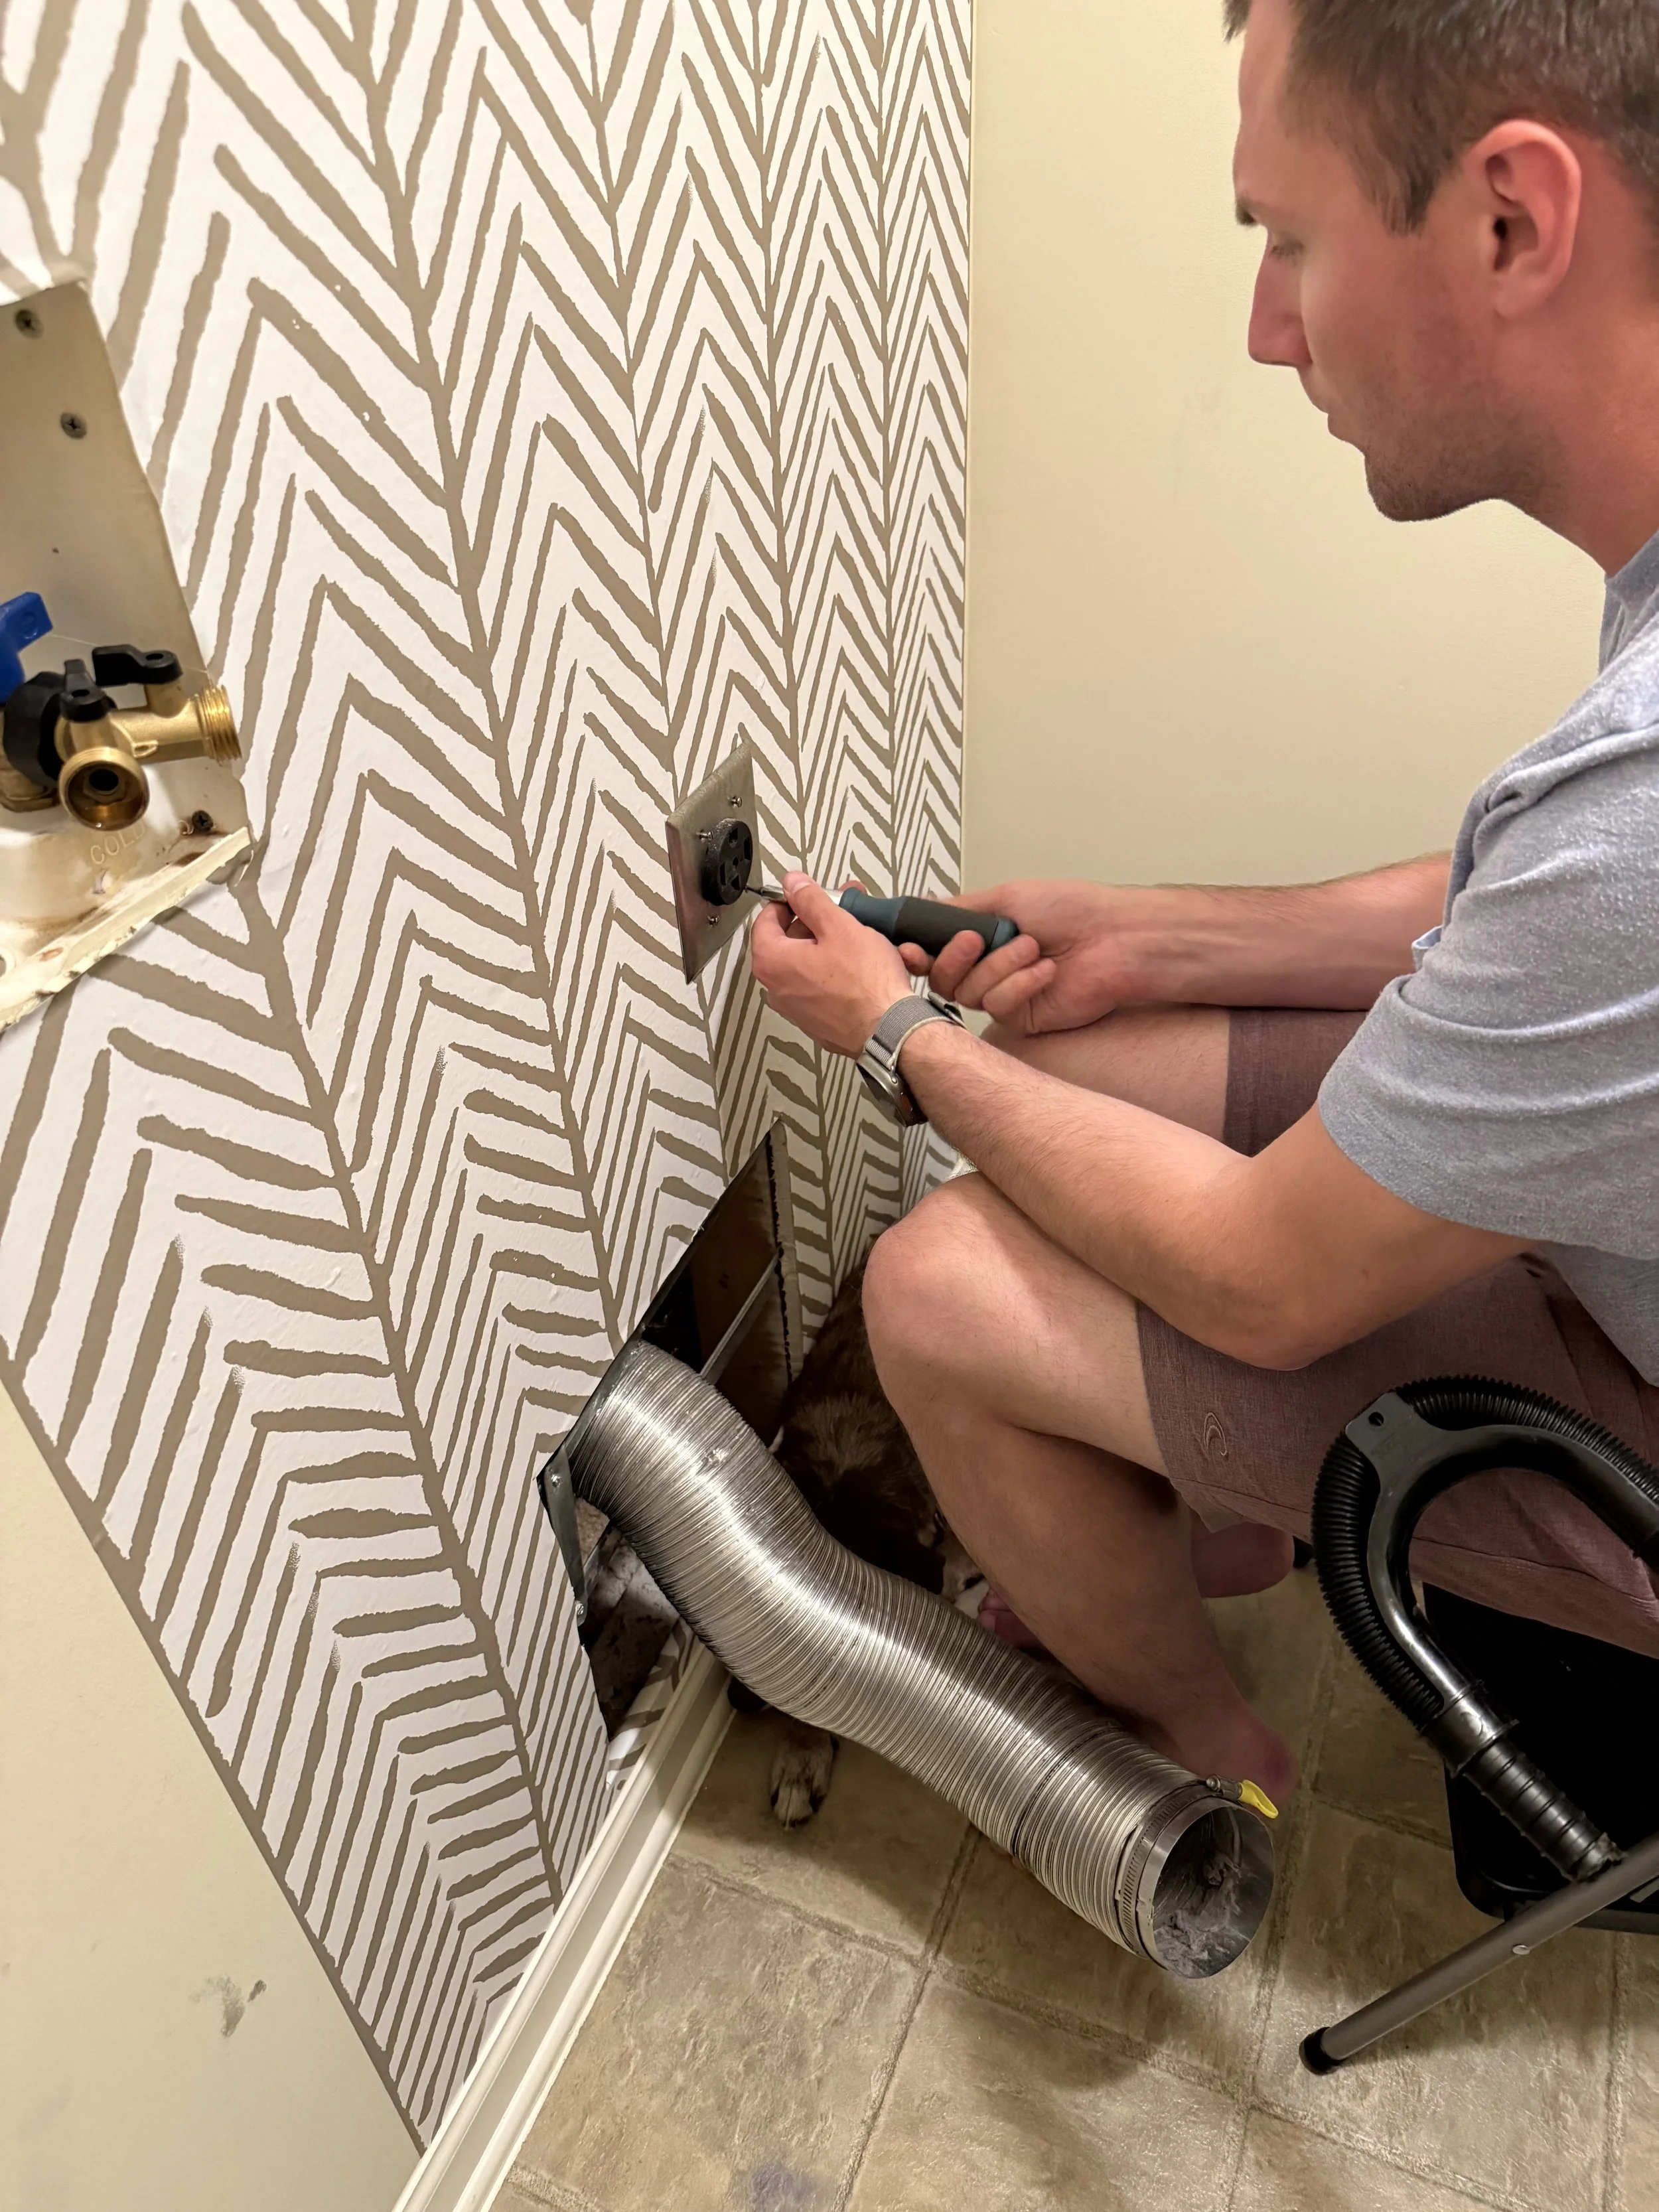

The cutest helper who insisted on supervising.
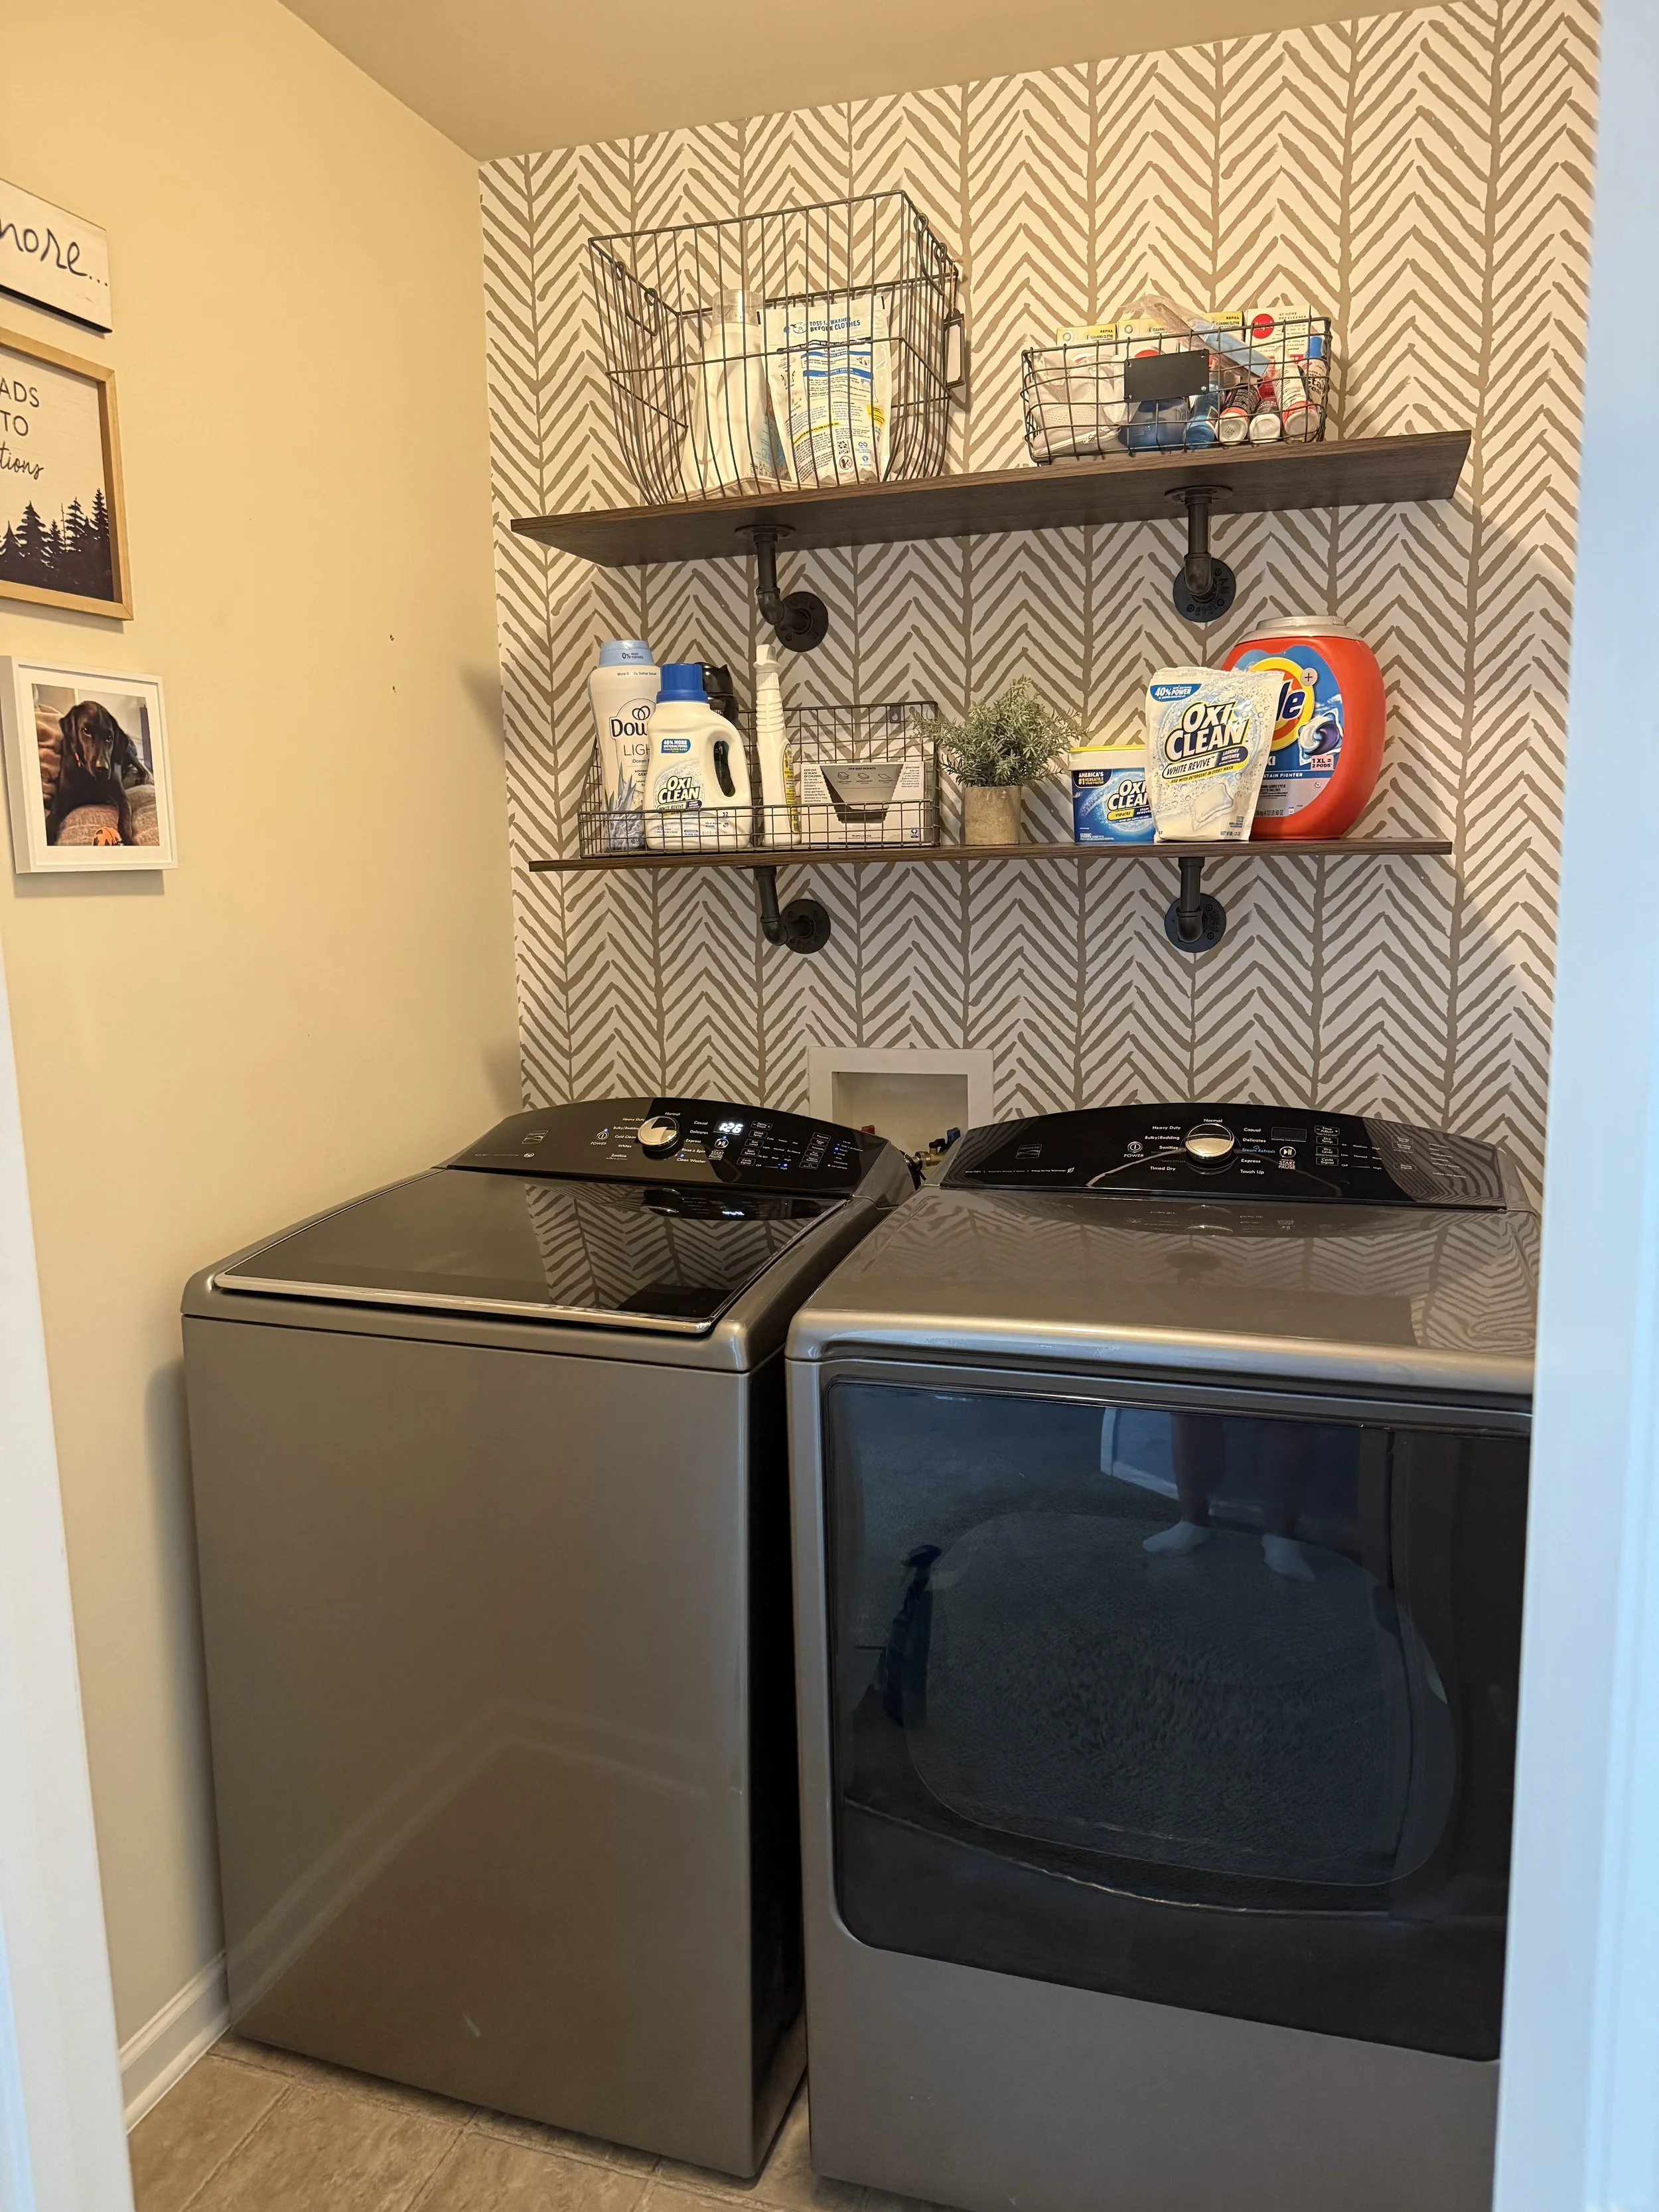
Ta da! The final product ✨
The Final Result
All in all, the project took about five hours to clean, wallpaper, and install the shelving.
I already owned the wire baskets from a previous laundry room refresh, which helped keep costs down. If you're looking for something similar, I've linked comparable items in my Amazon Storefront.
The entire project cost less than $200 and one evening of our time, but it has made a noticeable difference in our daily routine. It's amazing how a small improvement can make even mundane tasks feel a little more enjoyable.
Finding Value in Everyday Spaces
For you, maybe it's a kitchen backsplash, a fresh coat of paint, or a new bathroom vanity.
Whatever project you've been considering, don't underestimate the value of creating a space that feels beautiful, peaceful, and uniquely yours. Sometimes the smallest upgrades have the biggest impact on how we experience our everyday lives.
